The scenario, written by Vincent Tsao for the Bloody Big Battles rules, is available for download from the Files section of the BBB Yahoo!Group.
There are five objectives, all indicated on the table by small white tents. All objectives are held by the Confederates at the start of the battle. The game is 9 turns.
Union win if they hold 3 or more objectives at the end.
Draw if Union hold 2 objectives.
Confederates win if they hold 4 or more.
Reinforcements are due to arrive at various points during the battle.
Unfortunately I didn't have enough rivers and streams to include all the waterways. In particular Young's Branch would have improved the Confederate defensive position.
The Game
After the first turn:
Burnside (Union) is facing Evans (Confederates) on Matthews Hill.
Cocke (Confederates) has taken a risk by leaving Ball's Ford to be defended by artillery and is pushing towards the bridge.
Along the road, Porter (Union) is trying to make ground towards Henry House Hill and Bald Hill before Bartow and Bee (Confederates) get firmly established there.
 |
| Matthews Hill on the left (actually should be the second level of a much larger hill). Henry House Hill is the large hill to the right of the bridge. The edge of Bald Hill can just be seen to the right of Henry House Hill. The objectives are at the bridge, Henry House Hill, Bald Hill, Ball's Ford and Newmarket |
A couple of turns on and reinforcements have arrived on both sides.
Burnside and Evans are still at it at Matthews Hill.
Sherman, Keyes and some artillery (Union) have crossed a ford to approach Evans from the rear but Jackson (Confederate) has raced straight past Henry House Hill towards the sound of the guns to support Evans.
Cocke is in the woods by the bridge.
At Henry House Hill Bartow has held back Porter, but Howard and Franklin (Union) are moving up to assist in the attack on the two hills.
Bee holds Bald Hill. The Confederates still hold all the highest ground.
 |
| An overview showing all the action. |
 |
| Porter (Union) threatening Bartow at Henry House Hill |
Schenk (Union), on the far side of the bridge, had a miserable day. He took his time moving to the bridge which he found blocked. When he did finally break through he was quickly routed.

Franklin, supported by Wilcox (Union), attack Bald Hill. In this photo Franklin has just pushed back Bee who has forgotten to take his label with him in the rush. In the background you can see Howard has just taken Henry House Hill.
 |
| Franklin attacks Bald Hill and in the background Howard has taken Henry House Hill |
At Matthews Hill the Confederate counter-charge is being pushed back. Evans has gone and been replaced by Cocke. Jackson has taken many casualties and pulled back to the wood where he is in a better position to hold the objectives. Sherman is in pursuit.

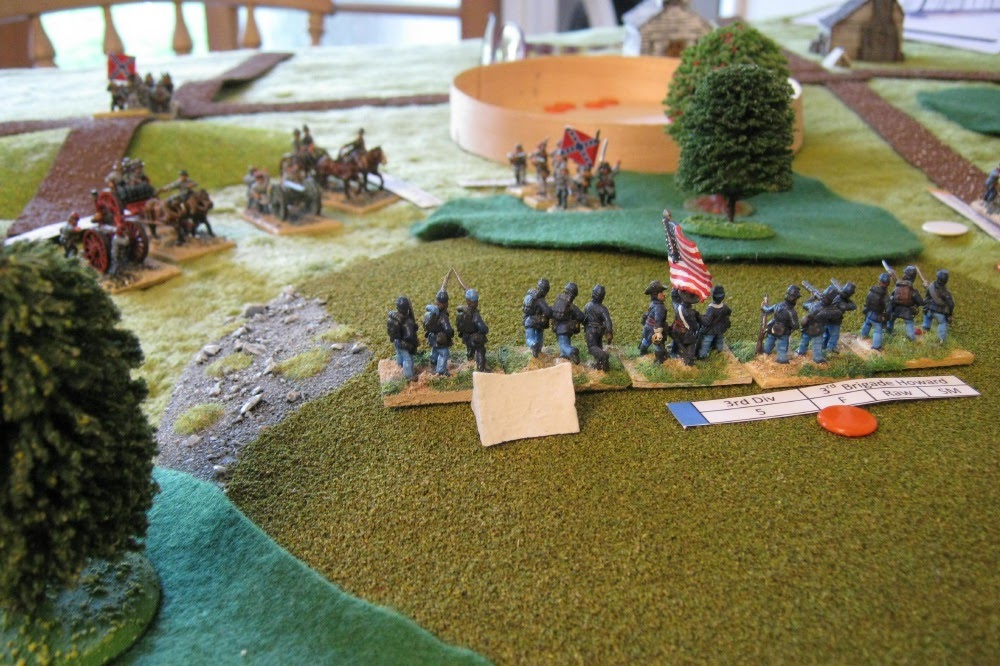
Howard is still holding Henry House Hill against massed artillery and Kershaw (Confederates) approaching through the woods. They held this objective to the end of the game.
Franklin and Wilcox are still contesting Bald Hill but are about to be pushed off it.

Franklin, Wilcox and Porter, who made the initial attacks on Henry House Hill and Bald Hill, are all Spent and just trying to survive the day.
 |
| Porter and Wilcox prepare to defend themselves while Confederates swarm over Bald Hill towards them. |
And that is pretty much how it ended. The Union managed to take one objective and threaten two others, but the Confederates' aggressive tactics pushed them back.
A good scenario with opportunities for both sides with the arrival of reinforcements at various stages of the battle.
Nice to get the full perspective of the battle on your table. Everyone who uses these rules seem to hold them in high regard.
ReplyDeleteI meant to annotate the first picture with key positions before I uploaded it but forgot. Hopefully the descriptions are enough to follow the action.
DeleteCheers
I enjoyed reading about the game, great write-up Colin.
ReplyDeleteThanks. I'm looking forward to the next game.
DeleteNice write up Colin and I think the rules are great. Certainly my go to set for 19thC wargames.
ReplyDeleteYes, I'm enjoying the BBB rules a lot.
Delete